Install PYLEECAN
Welcome to the PYLEECAN installation page. There are three different methods to install PYLEECAN depending on what you plan to do:
1) Get the GUI from the installer (fastest and simplest but limited to FEMM)
2) Get the package from pypi (to use in python scripting/notebook)
3) Get the code from Github (to contributing to pyleecan)
Installing third party software (all three methods)
The principle of Pyleecan is to enable the user to choose between several models to compute the same quantities. Some of them call other software that you need to install as well (if you plan to use them). For now, the following software have a coupling with pyleecan:
Method 1: GUI installer
This method is dedicated to the ones that want to use pyleecan to generate/run FEMM simulations without dealing with python and package management.
For the first method, you need to download the latest version of the GUI installer (works for both Windows and Linux) from the following list:
For Linux please follow the below steps to install the GUI:
install wine and winetricks
install FEMM and pyleecan installer. Both should install through wine.
install vcrun2015 through winetricks by running the following command in the terminal “./winetricks vcrun2015”
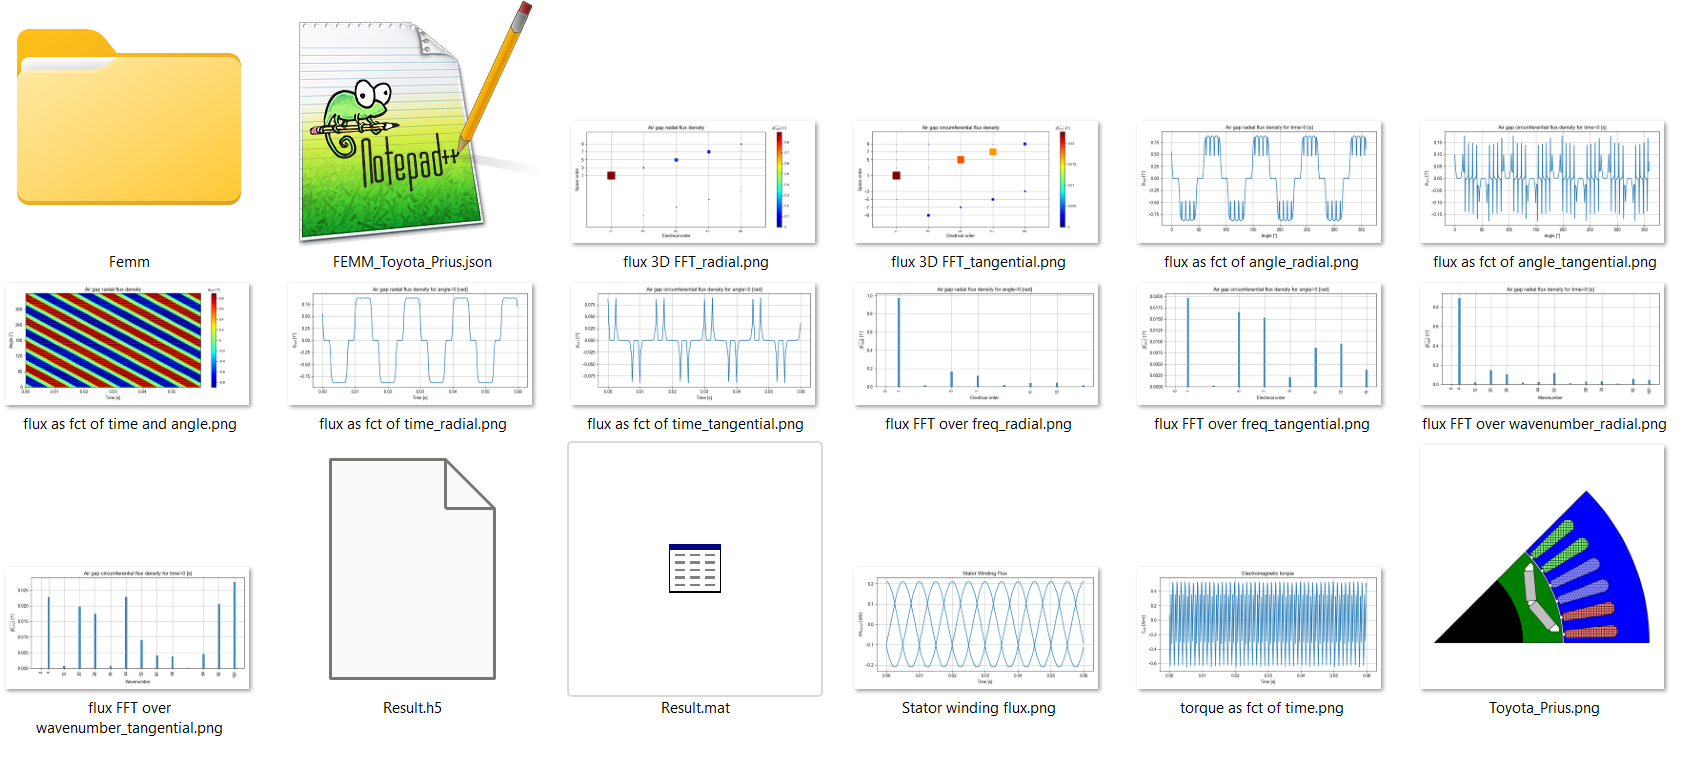
The GUI enables to define a machine and to run single speed magnetic current driven FEMM simulations (with symmetry, parallelization and sliding band). At the end of the simulations all the meaningful results are gathered in the result folder:

This installer is the fastest way to define and run this kind of simulation but several important features (like variable speed simulations, parameter sweep or optimization) are not available.
Getting python (Methods 2 & 3)
For method two and three, you will need to install Python and preferably an IDE (Integrated Development Environment).
To be able to use PYLEECAN you will need to download Python between 3.6 and 3.10 included. We recommend to use python version 3.8.X Support with older Python version haven’t been tested and should be possible. If you experience difficulties with running Pyleecan with any version of Python, please open an issue on Github to talk about it. Python 3.11 is not available (yet), we first need to upgrade PySide2 to PySide6 for the GUI (PySide2 is not available on Python 3.11).
The next needed tool is an IDE (Integrated Development Environment) to write and execute python code/scripts. There are too many IDE to count and each developer has its own preference. We recommend to install Visual Studio Code, this is Microsoft’s IDE (accessible on all platform) that provides a plugin dedicated to Python that you need to install as well.
If you don’t want to use VScode, You can take a look at Spyder, Anaconda, PyCharm or any results from “best IDE for python” on your favorite web browser. We used to recommend Anaconda/Spyder since it’s meant to be used in a scientific environment, but we had several issues with pyleecan GUI.
Method 2: Getting PYLEECAN package from pypi
This method is dedicated to the ones that want to use the latest validated pyleecan version in scripting and notebook without interacting with the code. All the features are available except for the ones that are currently being implemented/validated.
PYLEECAN is available on pip. Simply type in a shell the following command: :
pip install pyleecan
This command line should download and install pyleecan on your computer, along with all the minimum dependencies.
To check that pyleecan is correctly installed, the following command should open the GUI:
python -m pyleecan
There are several optional dependencies that can be installed as well by using:
pip install pyleecan[full]
In particular, pyleecan provide 2 solvers for optimization: deap and smoot. If you plan to use optimization you can install one or both packages depending on what you plan to use.
If you plan to run the tutorials, you can also install:
pip install jupyter
Method 3: Getting the code from Github
This method is dedicated to the ones that want to contribute to pyleecan or to interact with the code. All the features are available even the ones we are currently working on.
The following steps are the short version of the “how to fork pyleecan” tutorial. 1) Getting Git For this method you will first need to install git or github. For Windows users, you may also want to install Tortoisegit (or any equivalent) for a more convenient use of git.
2) Creating a fork
You will need a Github account to
fork (bleu square on
the image) the pyleecan repository
which will create a copy of the repository in your Github projects. The
forked repository will enable you to send
modifications from your fork to the main project on Github with
code.contribution:”pull-request” (see also this tutorial).
3) Clone the project You can now clone the forked version of Pyleecan in your Github projects (either though command line or the tool you have installed with git) with the following command (replace the official project url by your fork one in the green square on the image):
git clone https://github.com/Eomys/pyleecan
4) Install requirements To be able to run the code, you will need to install all the requirements packages with:
pip install -U -r requirements-full.txt
requirements-full.txt is a file at the root of the code folder.
5) Check installation by running the Tests You can finally launch some tests to check that everything is working correctly: :
python -m pytest ./Tests -m "not long_5s"
More details on this command are available in the tests contribution page.


